BUDS
Kids love to watch things grow! Their curiosity and love for the new makes for a wonderful combination especially when it comes to gardening.
This month’s buds article is actually an edited version of a wonderful article that was written by the people at groOrganics whose mission is to provide resources and tools for organic gardeners.
The thing that made this article most appealing to me was the easiness of getting it started, the amount of work required to maintain it and the results that await you at the end of the cycle.
Growing potatoes in containers is a great way to teach kids about gardening while at the same time, accenting your garden over the spring and summer months while awaiting the harvest of your own potatoes in the fall. And because you will be planting in containers, you will also forgo the problems with insects that can damage your potato crop which can happen when planted directly in the ground.
Regardless of where you live, you can begin your potato garden right now and watch as it morphs into something amazing.

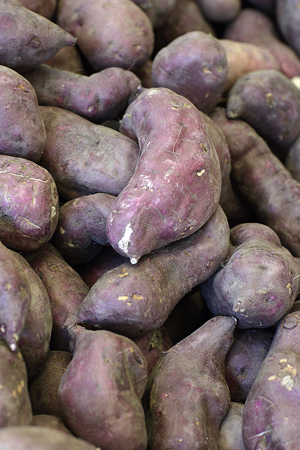
How to get started: You can use a large flower container or I am thinking about using brightly colored trash cans that can be found at Ikea or other home stores. Over the years I have planted sweet potato plantings and in the fall harvest quite a few sweet potatoes once the summer season is over. Be sure to use containers that have holes in the bottom to allow for drainage of excess water. Plastic trash cans are great because they are easy to clean and light enough to move around.
- In the bottom of your container, place a layer of double-shredded mulch to help keep the soil moist and prevent it from seeping through the holes.
- Add 3-4 inches of potting soil and compost mix.
- Add 5 or 6 whole potatoes with eyes that are sprouting. You can also purchase seed potatoes from your local garden center if your prefer.
- Cover the potatoes with 3-4 additional inches of soil and compost. Water thoroughly until water begins to seep through drainage holes. Be sure to water often enough to prevent the soil from drying out but avoid over-saturating and allowing the potatoes to sit in soggy soil. Remember moist but not soggy.
- Once the shoots appear, add another 3-4 inches of soil. When the shoots appear again, repeat the process of a total of one foot of soil.
- During the growing process, cover the tops of your containers at night to protect them from frost. Be sure to remove the lid during the day as the potatoes require air and light in order to grow.
Harvest — during the fall the plants will begin to wither and it will then be time to inspect the growth of the potatoes and begin to remove as you are ready to use.
Happy budding!


